Installing WeatherXM H2 Open Edition (WS2001)
Prerequisites for proper installation
- Mounting pole of at least 2m (6.56ft) height (not included)
- Sturdy mounting base or U-bolts to secure in place (included / hardware accessories)
- Compass or phone GPS for True North direction alignment
Proper mechanical installation and siting are essential to collect high-quality, representative weather observations. Obstacles, heat plumes, or mechanical vibration can distort temperature, wind, and precipitation readings.
Best Practices for Station Siting
The values of meteorological parameters measured by a weather station can significantly differ depending on surrounding obstacles and ground surfaces.
1. Mounting Pole Height
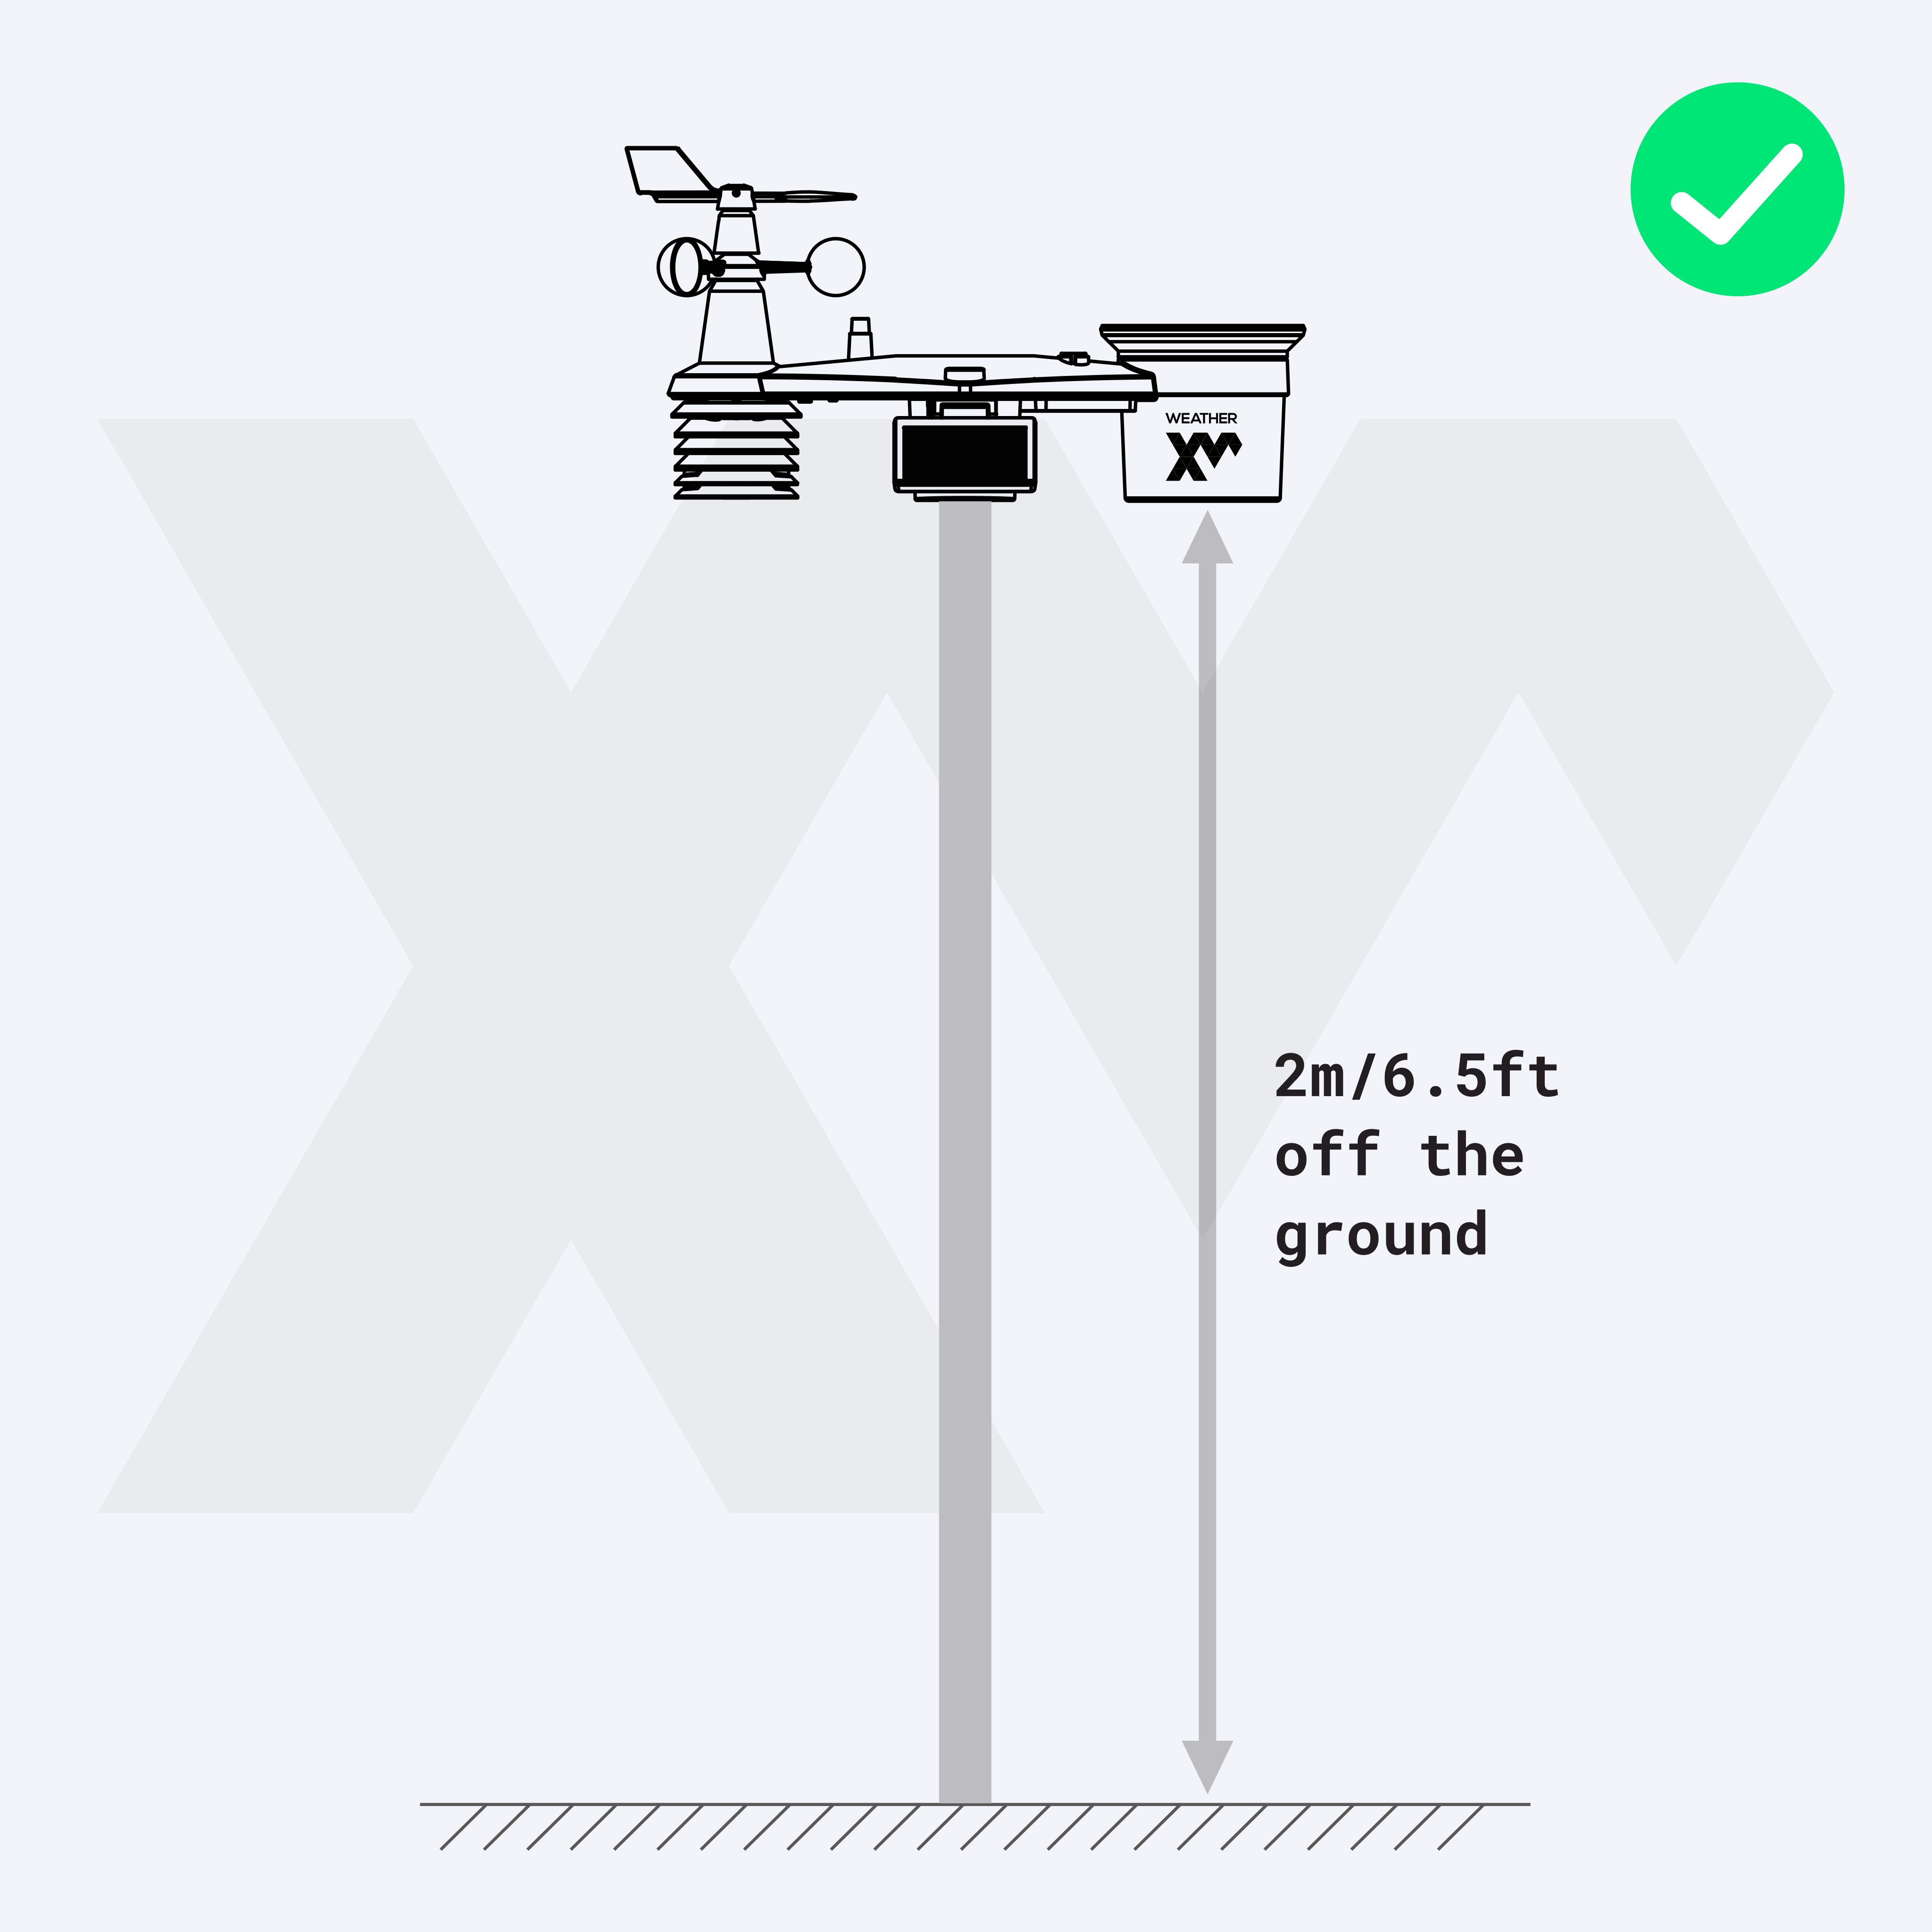
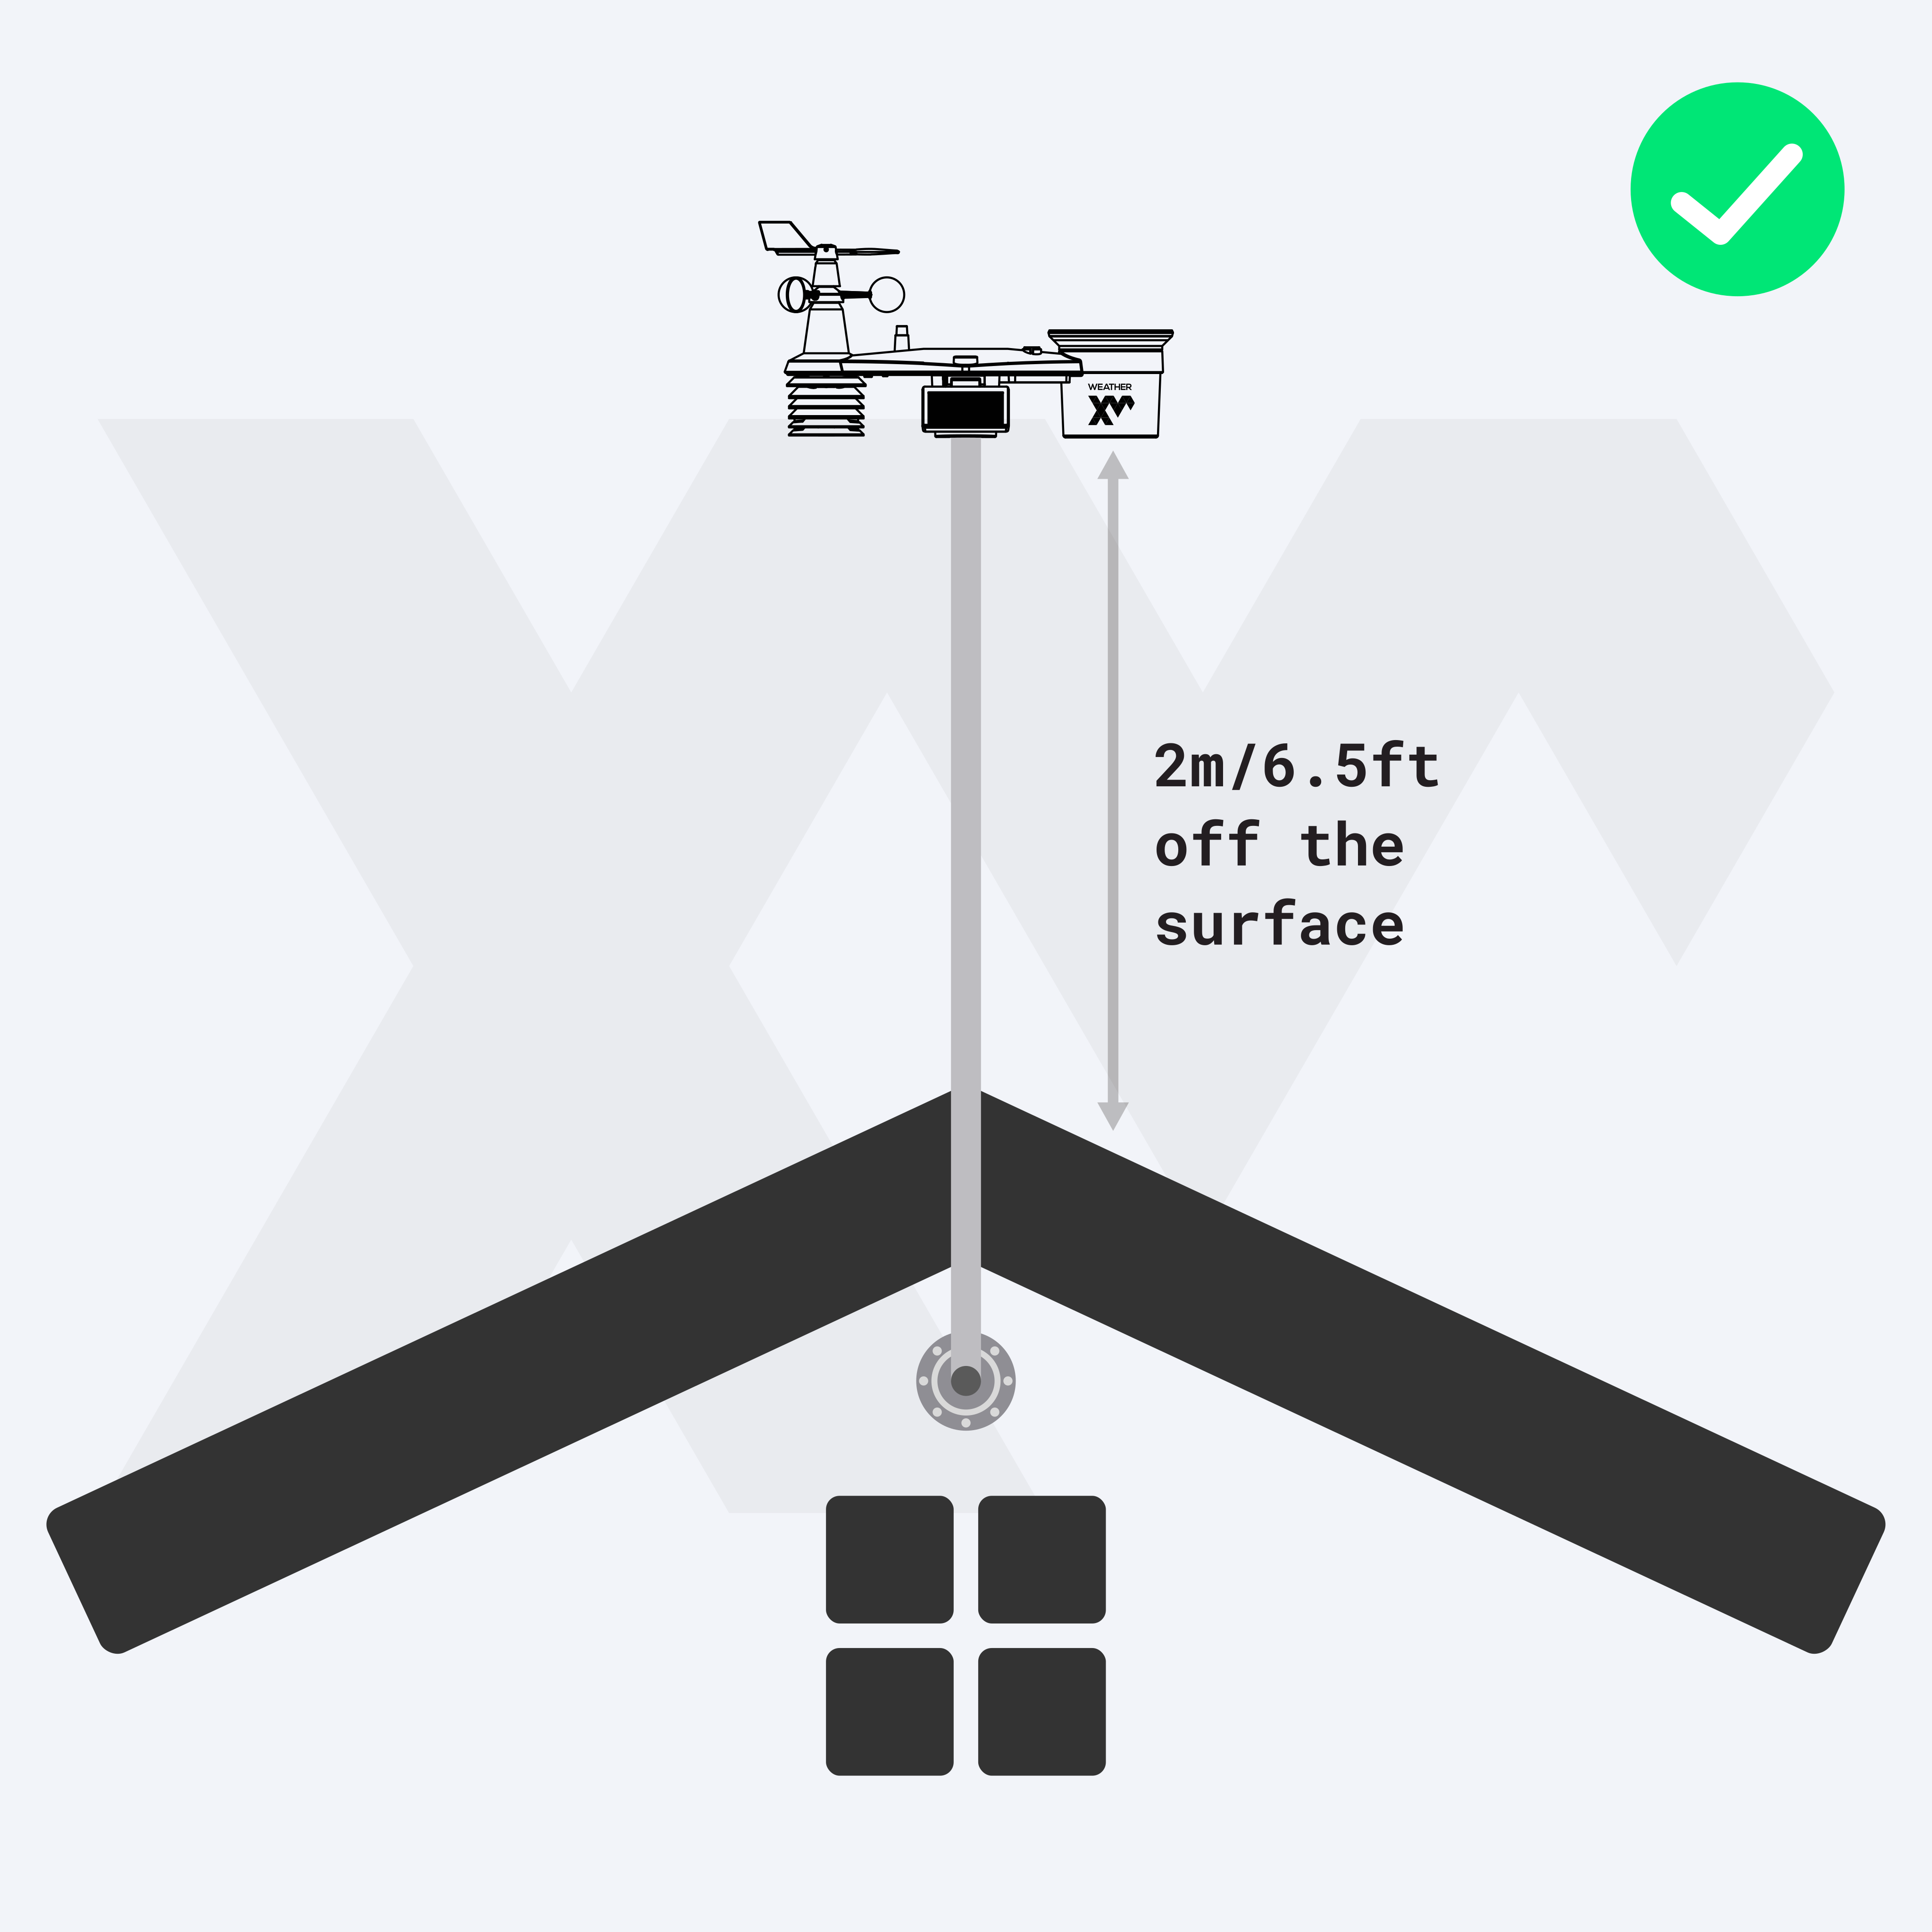
Mount the station on a pole at least 2m (6.56ft) above the ground or roof level. The maximum recommended pole height is 5m (16.5ft).
2. Secure and Tighten the Pole
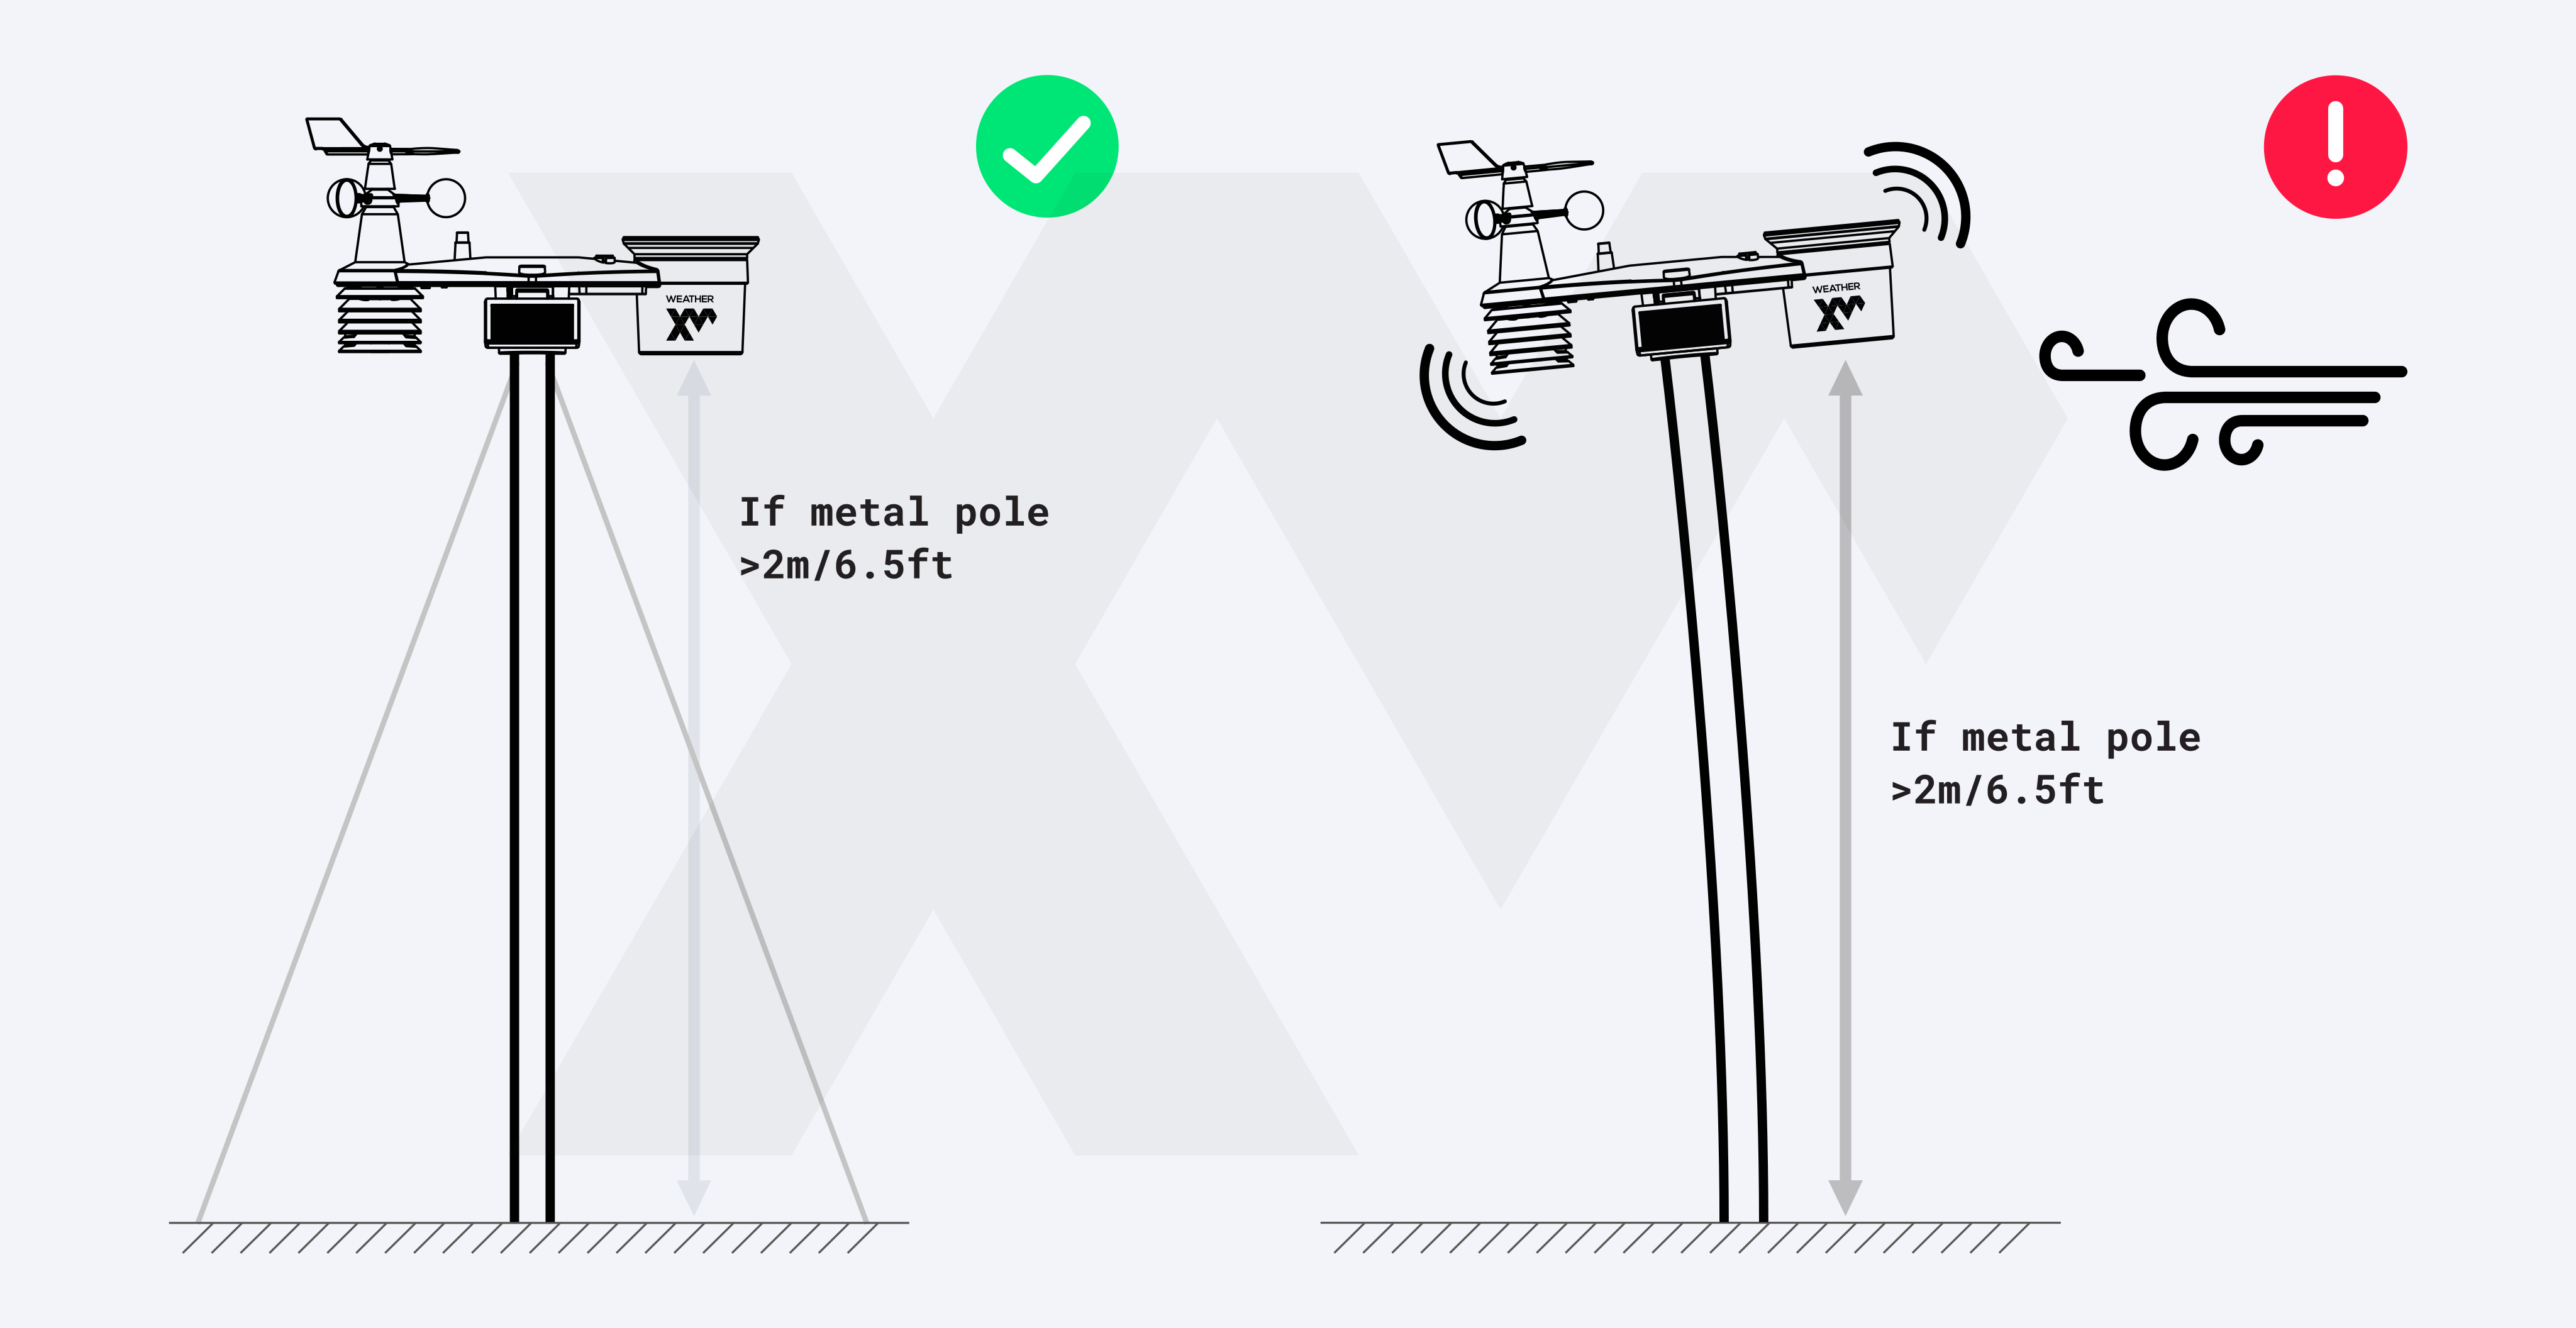
The pole should be firmly anchored to prevent oscillation in strong winds. Any pole swaying can cause the rain gauge tipping mechanism to trigger false precipitation counts.
3. Installation Location Guidelines
Away from Heat Sources
Ensure the sensor array is at least 5m (16.4ft) away from artificial heat sources, chimneys, exhausts, air conditioning condensers, or ventilation ducts that could falsely elevate temperature measurements.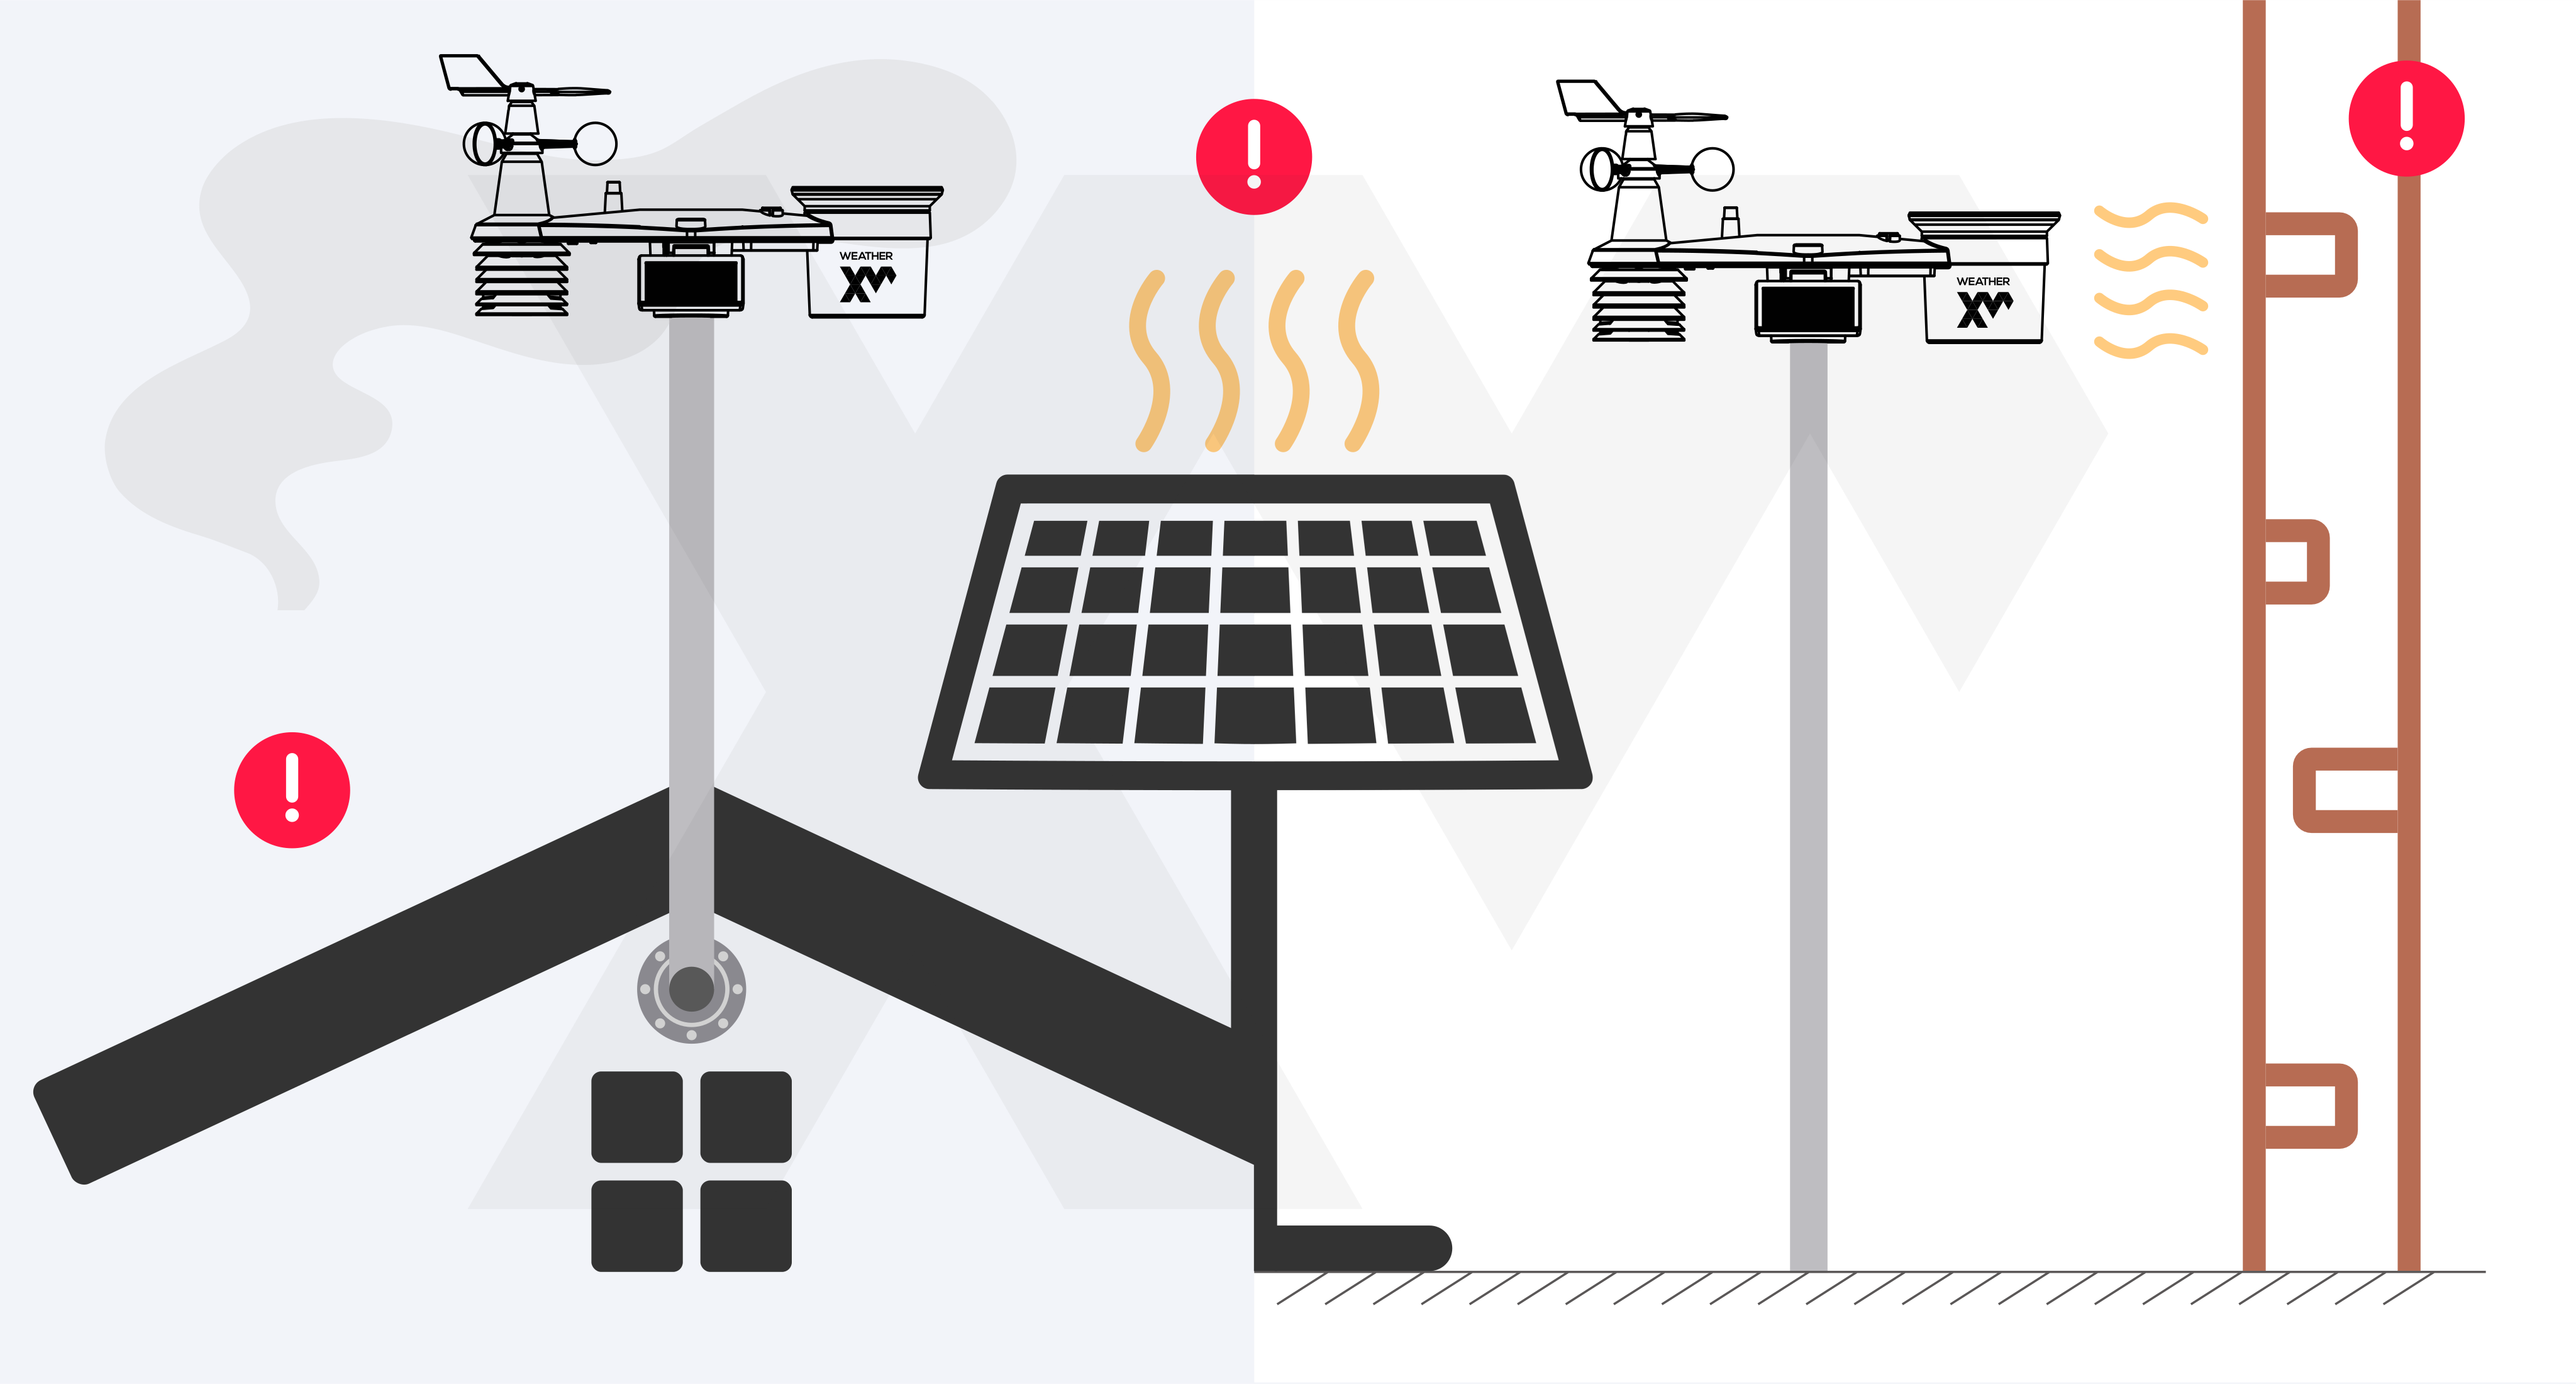
Clear of Shadows
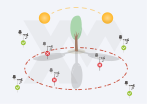
Ensure the station is not shaded by nearby buildings or trees during any part of the day. Solar radiation and UV measurements require direct, unshaded sunlight.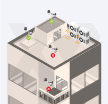
Distance from Obstacles
Position the pole at a distance from surrounding obstacles (trees, walls, roof ridges) at least 2–4 times the height difference between the obstacle and the sensor. For large obstacles (>8m), maintain a distance of 10–15 times the obstacle height when possible.4. Direction Alignment & Leveling
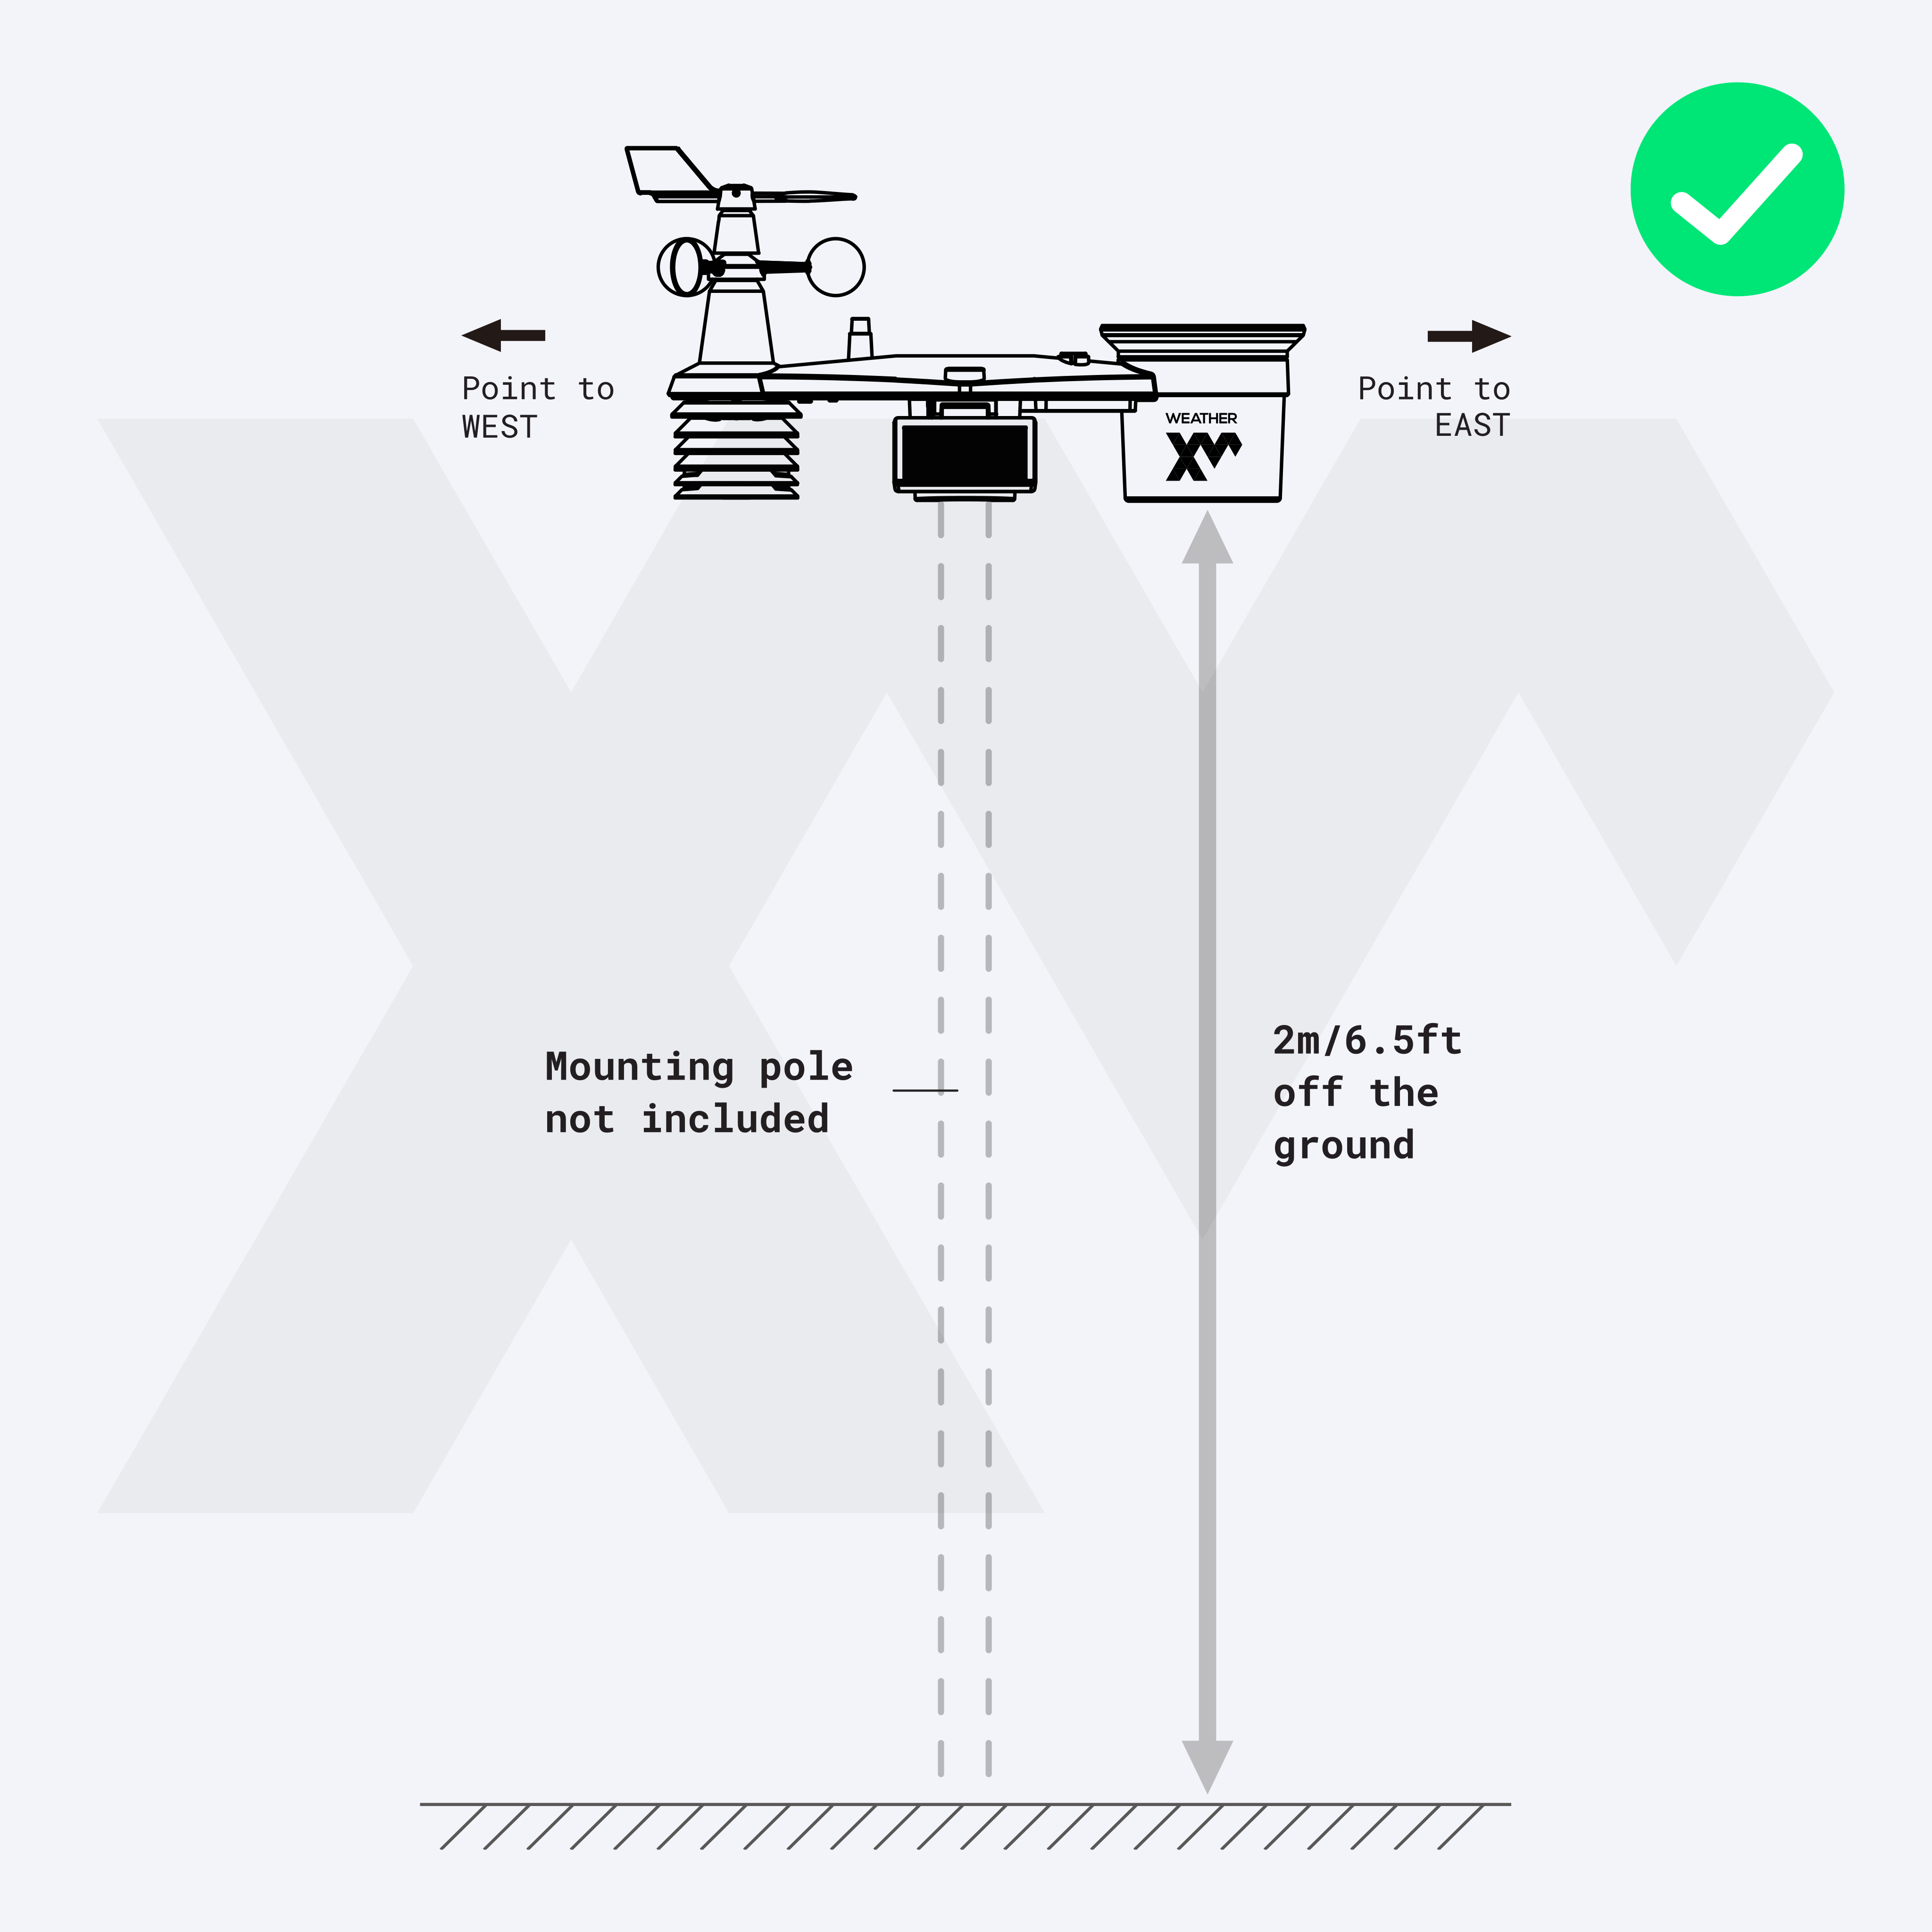
Install the weather station in an open location with no obstructions above and around the sensor. Locate the North (N) marker embossed on the top casing of the weather station. Using a compass or phone GPS, rotate the entire assembly so the marker points precisely towards True North.
Check the integrated spirit bubble level on top of the sensor body. Ensure the bubble is centered before tightening mounting pole clamps to prevent rain gauge measurement tilt error and guarantee accurate wind direction tracking.