How to join Arbitrum and see your tokens
If you don’t have a wallet, create one which is recommended if you want to see test tokens.
Add Arbitrum One Network to Metamask
Adding Arbitrum One Network support to MetaMask is a mandatory step in order to add the WXM token, view activity, and make transactions. Make sure you follow our step-by-step guide below for adding the Arbitrum One Network to MetaMask.
You can add Arbitrum One Network to MetaMask by following the instructions below:
Using Arbiscan
Please make sure you have already installed MetaMask!
This solution works only on desktop with the MetaMask browser extension already installed.
Please follow the steps to add Arbitrum One Mainnet:
-
Navigate to Arbiscan.io
-
Scroll down to the bottom of the page and click on the button
Add Arbitrum One Network
-
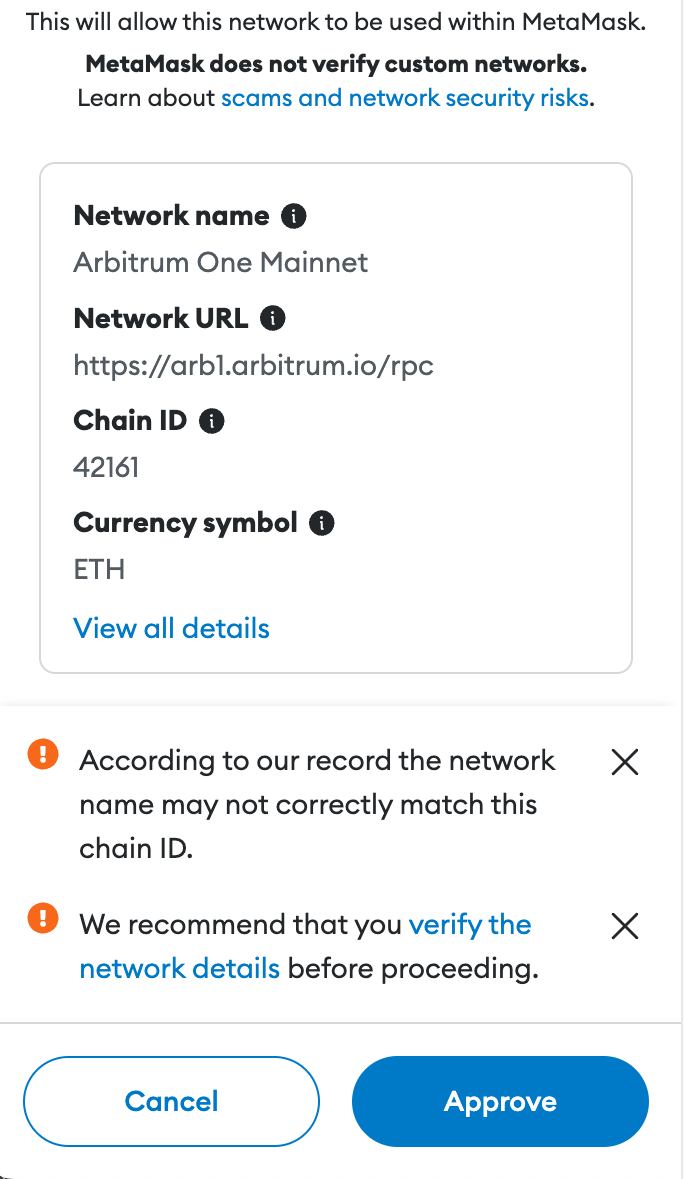
Once you click the button you will see a MetaMask notification, now click on Approve. You will be directed to Arbitrum's Mainnet in the network dropdown list. You can now close the dialog.
Add WXM token in MetaMask
For the WXM token to appear in the wallet UI, you will need to add it manually. Note that your wallet can still receive tokens that haven’t been imported.
Please make sure you have already added the Arbitrum One and have connected to it by following the guide above!
-
First, you will need the following details of the WXM token in order to add it:
- Token Contract Address:
0xB6093B61544572Ab42A0E43AF08aBaFD41bf25A6 - Token Symbol:
WXM - Token Decimal:
18
You can verify those details on Arbiscan.
- Token Contract Address:
-
On MetaMask and click [Import tokens].
-
Paste in the WXM’s contract address and MetaMask should automatically fill in the rest of the details. If not, add them manually. To finish, click [Add Custom Token].
-
Click [Import Tokens].
You have now successfully added the WXM token to your MetaMask wallet!